A few things are necessary to make the most of your rain barrel. The first is the capacity. You need to select the right size for the downspout. The overflow valve should also be considered. The overflow outlet will help to direct excess water away from the barrel.
How to make a rain barrel
A rain barrel system can save water by collecting rainwater. The barrel should have two spigots. One to collect rainwater and the other to keep it from overflowing. For attaching the spigots to the barrel, make a small hole in the barrel's base. Teflon tape, silicone caulking and silicone caulking are used to seal the spigots.
First, you need a downspout elbow. The barrel should be located close to the downspout. If not, cut the downspout elbow to fit. After connecting the downspout elbow, screw it into the barrel. You should ensure that the downspout does not twist.
A downspout diverter can also be purchased. This can be used to direct rainwater towards a rainbarrel from a downspout. This allows you more rain to be captured and stored for later use in your garden or lawn. In addition to collecting rainwater, you can also store it in two barrels at a time.
Next, install the pump. An external pump or a submersible one can be installed within the tank. You will need to install a filter, screen and cover before installing the pump. Make sure your pump meets all the electrical requirements.
You can also cover the rain barrel lid with landscaping fabric. Make sure the fabric is hung over the barrel to prevent dirt and mosquitoes entering the water.
Cost
The cost for a rain barrel system is dependent on its size. A smaller barrel can typically hold between 50 and 60 gallons and larger barrels up to 15,000 Gallons. A rain barrel system is available online and at hardware stores. A filtration system will be required in addition to the price of the barrel.
Rain barrels are an eco-friendly way to collect rainwater for irrigation. Not only do they save water for your garden, but they also reduce your reliance on municipal water. You have the option of a large or small barrel to supply your entire home with water, or one that you can use for your indoor or garden plants. You can also clean your car with some barrels.
You can make a rain barrel system from many different materials. The majority of rain barrels made from plastic are available at garden supply outlets. Wooden barrels, however, can be harder to find and cost up to $250. You also have the option to purchase larger storage tanks made out of metal, stone or wood.
Two outlets are usually available for rain barrels to drain excess water. One outlet should be used to drain the rainwater away form your home. The second outlet should connect to the second rain barrel. An elevated platform may be necessary to place a heavy barrel on your roof to increase water pressure. This way, you can use the water in a variety of ways, including watering your landscape.
The cost of a rain barrel system depends on the type of tank you choose, the size of the tank, and the extras you want to purchase. A 5,000-gallon 'wet' tank with sprinkler system can cost anywhere from $4,000 to $7,000. Additional to the price of the barrel, an automatic topup system is available to refill the tank at anytime.
Size
A few factors will affect the size of your rain-barrel system. The size of your rain barrel system is determined by the area of your roof and the amount of rainfall that falls in your region. The amount of water required to fill the barrel as well as the potential loss due to evaporation should be considered. For example, a 60-gallon barrel can collect runoff from a two-hundred-square-foot rooftop.
Next you'll need a on-off valve or spigot. These two pieces are typically attached to the barrel near the bottom. This reduces the amount of water left in the barrel after emptying. A barrel's overflow outlet is also necessary. It is located near the barrel's top. It should be large enough for any water to overflow.
A rain barrel may have one to two spigots. Pick the model that meets your needs. A rain barrel might also have a screen, or lid, to keep debris from falling in the barrel. You can find several different types of rain barrels online.
The size of your barrel system depends on the area of your roof and the type of gutters that you have. A typical home has 50 gallons of water for a half roof. A larger rain basin is best for providing water for your whole house. While a smaller rain barrel works well for watering your plants indoors or in your garden, a larger rain barrel is better for watering your plants. You can also wash your car with smaller rain barrels.
Overflow valve
An important component of a Rain barrel system is the overflow valve. It allows water excess to be directed away form the foundation of your house and allow it to drain away. The overflow valve should always be open. During rainy times, the hose attached to the barrel can go inside the barrel’s overflow hole.
Drainage issues can result from rain barrel overflow that isn't properly diverted. Rain barrel system overflow can actually reverse water prevention measures your property engineers have installed. Consider installing a multibarrel rain barrel system or an overflow diversion device to prevent this from happening.
Installing a rain barrel requires that the overflow valve be installed high enough to stop water from escaping. An overflow valve that is too low can cause overflow. This could damage your foundation and kill your grass. Ultimately, the overflow valve is the best way to ensure your Rain barrel system is fully functional.
It is simple to install an overflow valve. The valve can be installed using a hole saw and an extension hose. An overflow rain barrel valve is a great choice. In passive rainwater harvesting, the overflow valve allows water from rain barrels to seep into the ground and not run off into storm drains. It is also beneficial to the environment since it helps replenish groundwater, and prevents the use of treated water.
Rain barrel systems can be equipped with an overflow valve that allows rainwater to drain from their Rain barrel system. The bulkhead fitting usually attaches the spigot to the barrel. To ensure maximum drainage, the spigot should be placed four inches above the barrel's bottom. Two places are available to place a spike on the barrel.
Permit requirements
Your location and state will determine the requirements for rain barrels. Some states or towns allow rainwater only on existing structures. Others require you to obtain approval from the local planning office. In any case, it's better to find out all the rules and regulations before getting started. To learn more about the requirements for building your new home, please contact your local planning division.
Rainwater can be harvested without a permit in certain states. However, it is important to follow local water department rules if you want to use it as irrigation or for ponds. Some states limit the amount you can collect and store rainwater. Louisiana is one example. Nevada's law allows rainwater collection to be used for domestic purposes. However, you must not sell polluted water. Moreover, if you plan to use the water for wildlife, the state allows the use of remote guzzlers. Your piping system must be covered. You can't extend it more than 1/4 miles from the place where you intend to collect rainwater.
If you reside in a area where there are homeowners associations, you should consult your local government offices to determine the type of permit that you require. Usually, rain barrel installations don't require a permit, but it is important to get a letter of approval from your homeowners association before installing the rain barrels. If you want to apply for rebates, this letter is crucial.
Rain barrels must be used only in non-potable locations. But they can still be used to potable ends. A permit is required if harvest rainwater is to be used for drinking. The water you collect must meet safe drinking water standards. It also must not come in contact with any off-property public water supply.
FAQ
How often should I water my indoor plants?
Indoor plants need watering once every two days. It is important to maintain the humidity level in your home. Healthy plants require humidity.
What month should I start a vegetable garden?
Planting vegetables in April and June is the best time. This is the best time to plant vegetables. The soil is warmer and plants grow faster. If you live somewhere cold, it is best to wait until July or august.
What is a planting plan?
A planting calendar is a list that lists plants that should be planted at specific times throughout the year. The goal of the planting calendar is to increase plant growth while minimizing stress. Early spring crops like spinach, lettuce, and peas must be sow after the last frost date. Cucumbers, squash, and spring beans are later crops. The fall crops include potatoes and carrots.
Which vegetables are best to grow together?
Growing tomatoes and peppers together is excellent because they both like similar temperatures and soil conditions. They are a good match since peppers need colder temperatures to produce their best flavor. You can try planting them together by starting seeds indoors six weeks before transplanting them outdoors. When the weather is warm, transplant the pepper and tomato plants outside.
What is the difference in hydroponics and aquaponics?
Hydroponic gardening uses nutrients-rich water to feed plants. Aquaponics combines fish tanks with plants to create a self-sufficient ecosystem. Aquaponics is like having your own farm in your home.
What is your favorite vegetable garden layout?
Your location will determine the best layout for your vegetable garden. If you live in the city, you should plant vegetables together for easy harvesting. For maximum yield, however, it is best to space your plants if you are in a rural area.
Do I have to purchase special equipment in order to grow vegetables on my own?
No, not really. You only need a trowel, shovel, watering can, and a rake.
Statistics
- It will likely be ready if a seedling has between 3 and 4 true leaves. (gilmour.com)
- 80% of residents spent a lifetime as large-scale farmers (or working on farms) using many chemicals believed to be cancerous today. (acountrygirlslife.com)
- According to the National Gardening Association, the average family with a garden spends $70 on their crops—but they grow an estimated $600 worth of veggies! - blog.nationwide.com
- As the price of fruit and vegetables is expected to rise by 8% after Brexit, the idea of growing your own is now better than ever. (countryliving.com)
External Links
How To
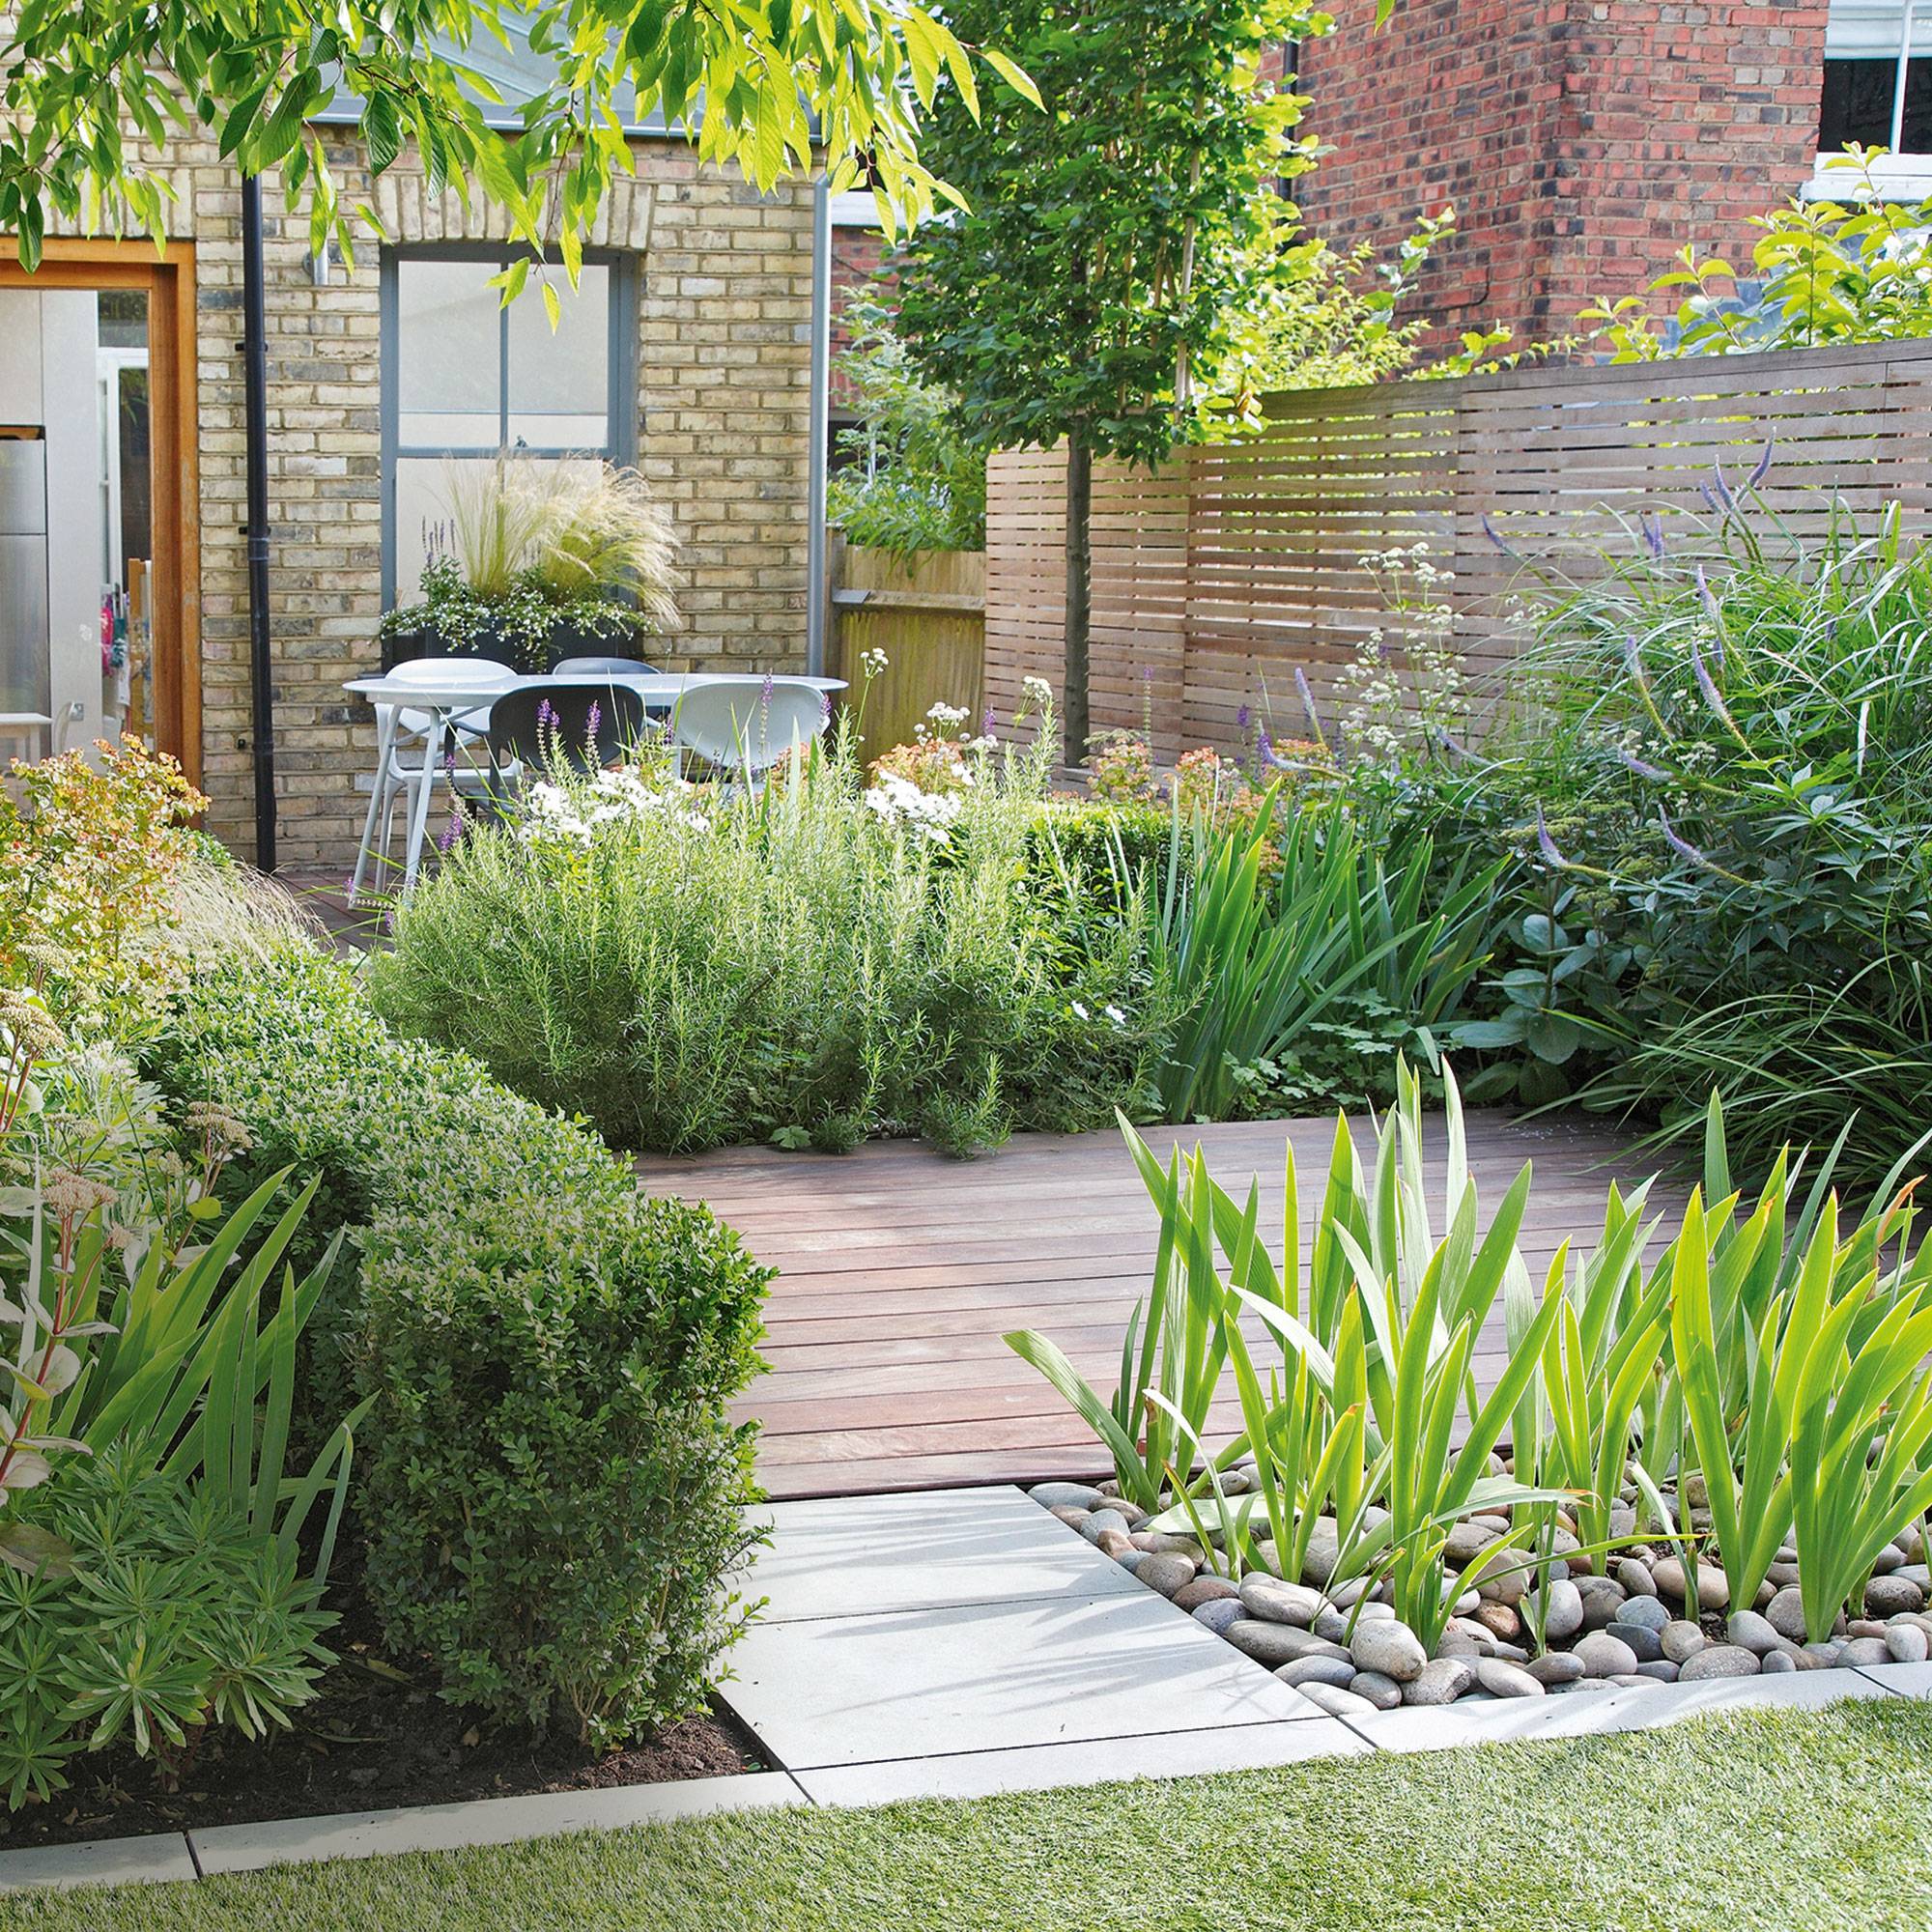
How to Start a Garden
A garden can be started in a matter of minutes. There are several ways to go about starting a garden.
One method is to purchase seeds from a local nursery. This is probably one of the most straightforward ways to start your garden.
Another option is to find a community garden plot. Community gardens are located in close proximity to schools, parks, and other public spaces. These plots are often equipped with raised beds that can be used for vegetable growing.
You can start your garden quickly by planting a container garden. Container gardening involves purchasing a small pot or planter and filling it with dirt. Then plant your seedlings.
You can also buy a pre-made kit. These kits include everything you need in order to start your garden. Some kits come with tools and other supplies.
The best thing about gardening is the lack of rules. You can do what works best for you. Just make sure you follow some basic guidelines.
Decide what type of garden you want. Do you desire a large yard? Or do you prefer to grow a few herbs in pots instead?
Next, consider where you'll be planting your garden. Or will you use a container to plant your garden? Or will you plant in the ground?
Once you know which type of garden you want to build, you can begin shopping for materials.
Also, consider the space available to you. Living in a city apartment might mean that there is not enough space for a large backyard.
Finally, after you have decided where to build your garden you can start. The first step in preparing the area.
This means removing any weeds and debris. Next, make a hole in the ground for each plant. Be sure to dig the holes deep enough so that the roots don’t reach the sides as they grow.
Add topsoil and compost to fill in the gaps. To retain moisture, you can add organic matter.
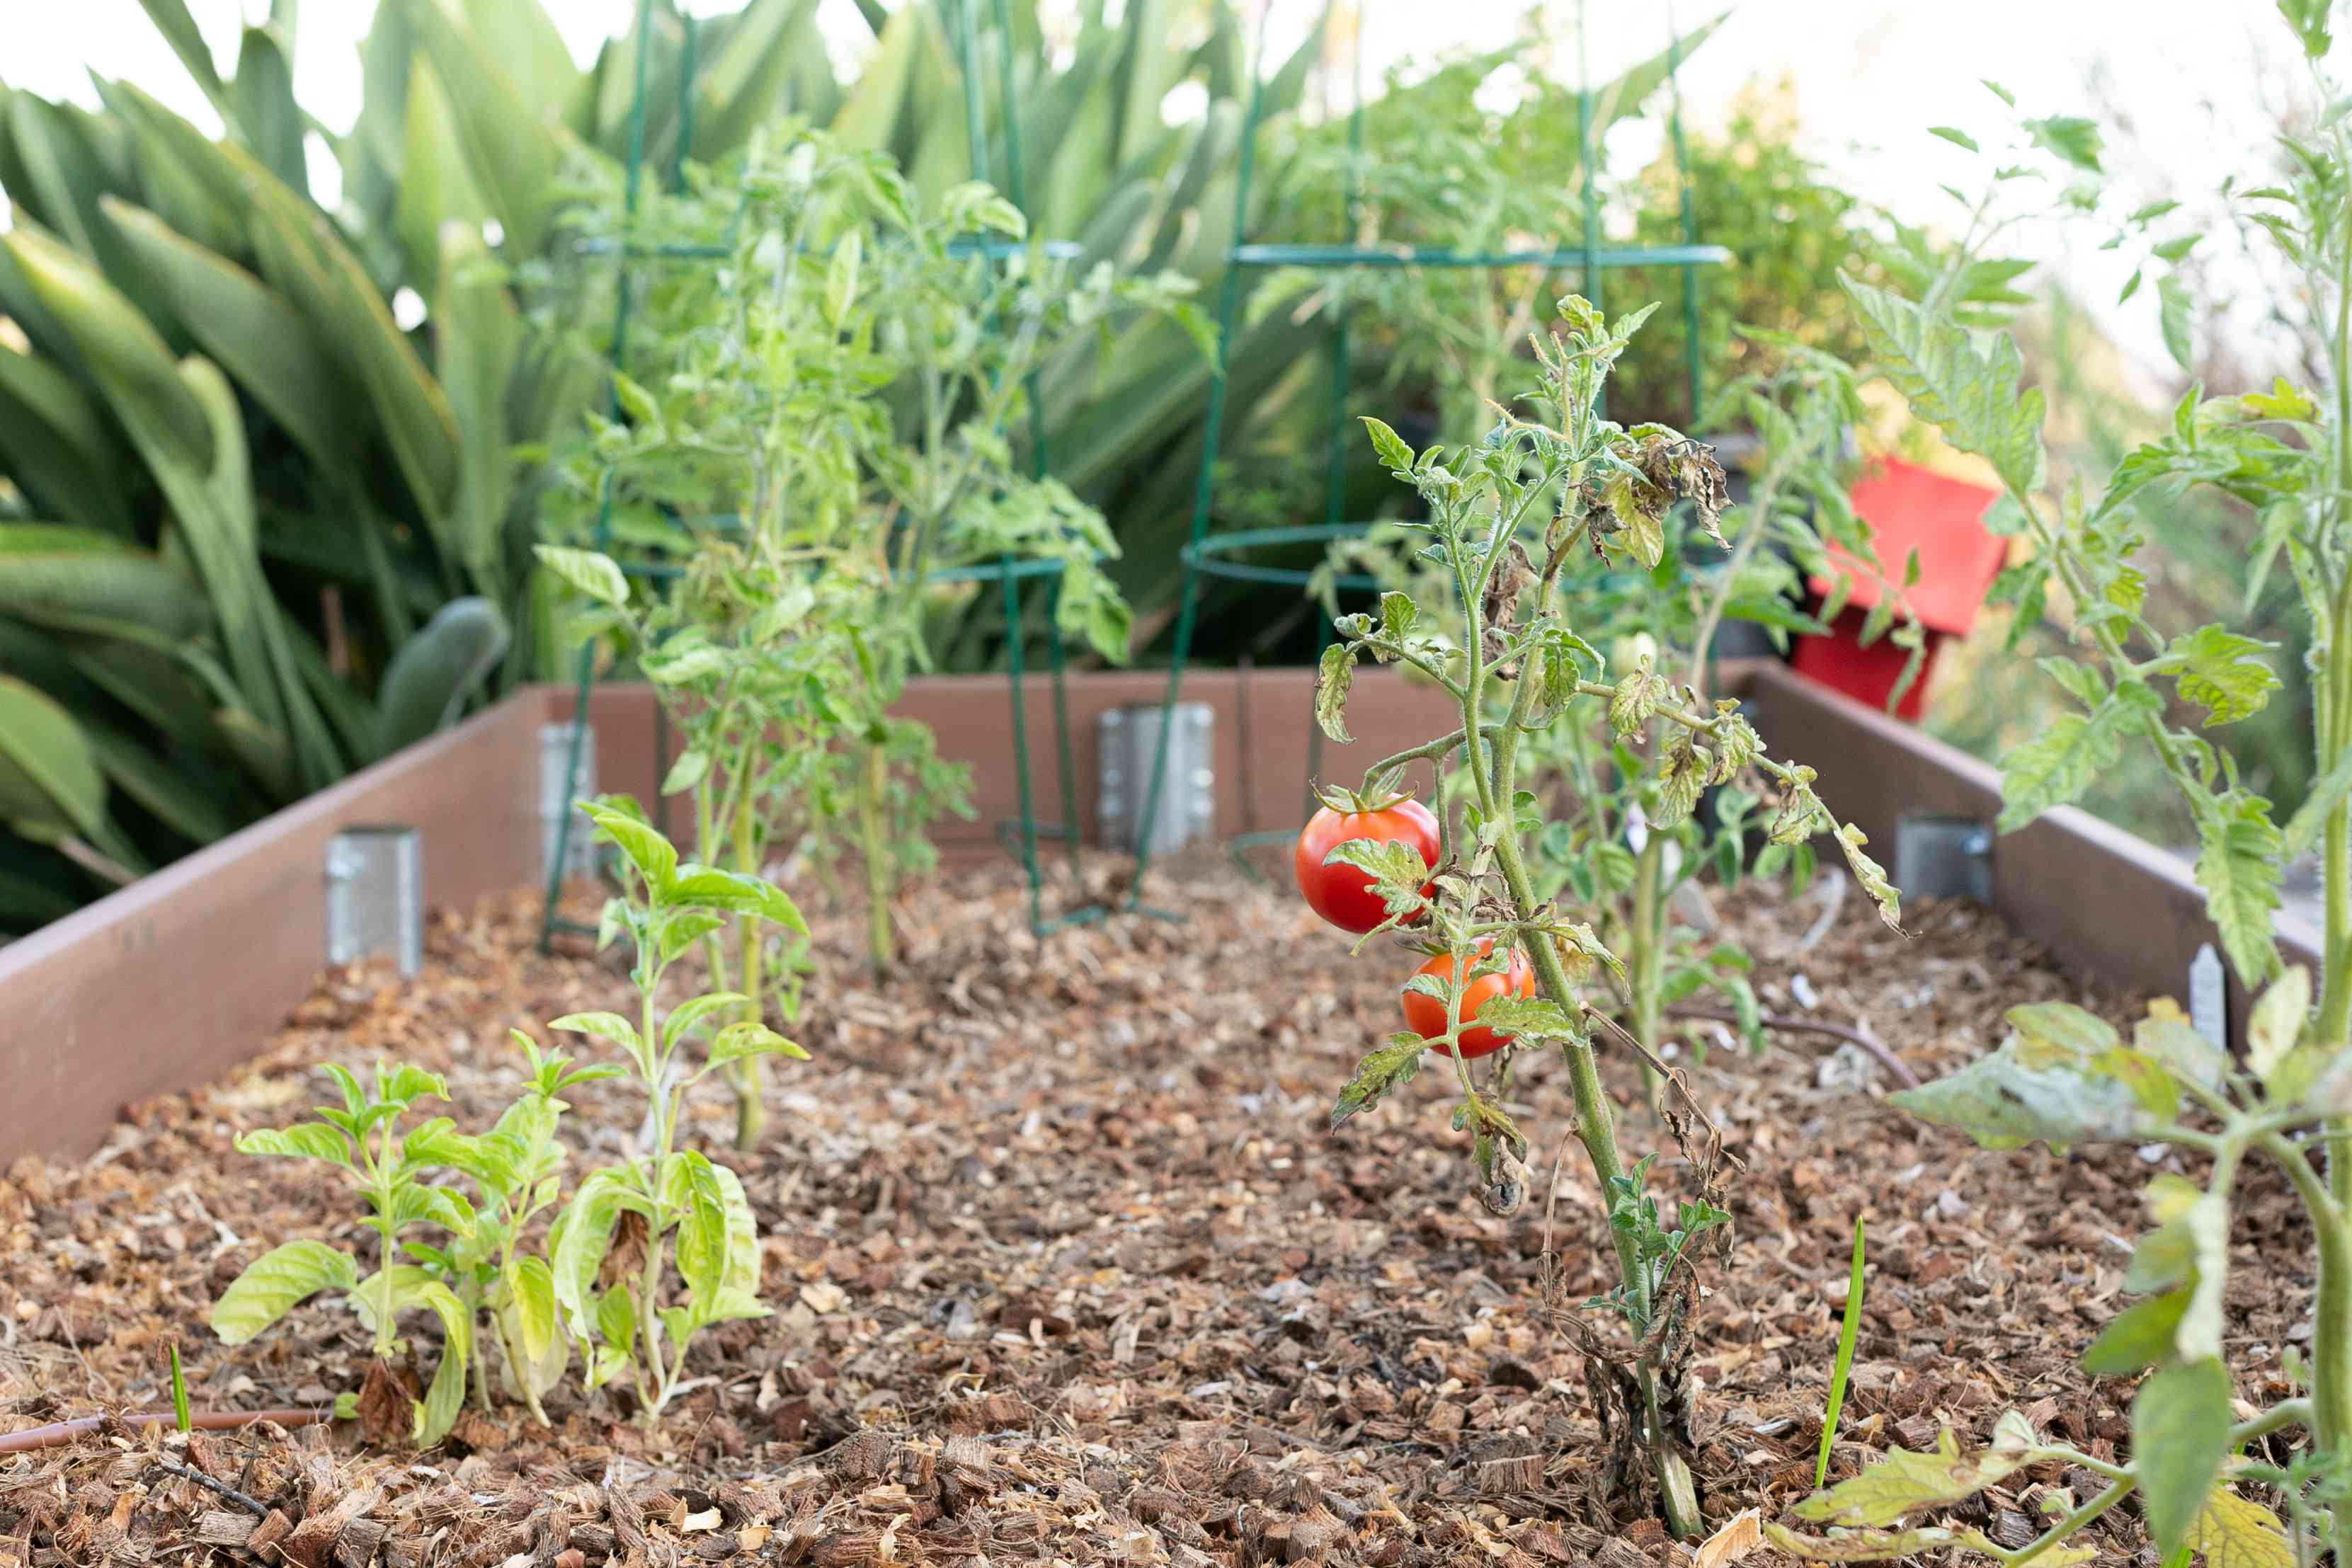
After preparing the site, add the plants. You should not crowd them. They require space to grow.
As plants grow, continue to add organic matter. This prevents disease and keeps the soil healthy.
When you see new growth, fertilize the plants. Fertilizer encourages strong root systems. It promotes faster growth.
You should continue watering your plants until they reach full maturity. When this happens, harvest the fruits and enjoy!