
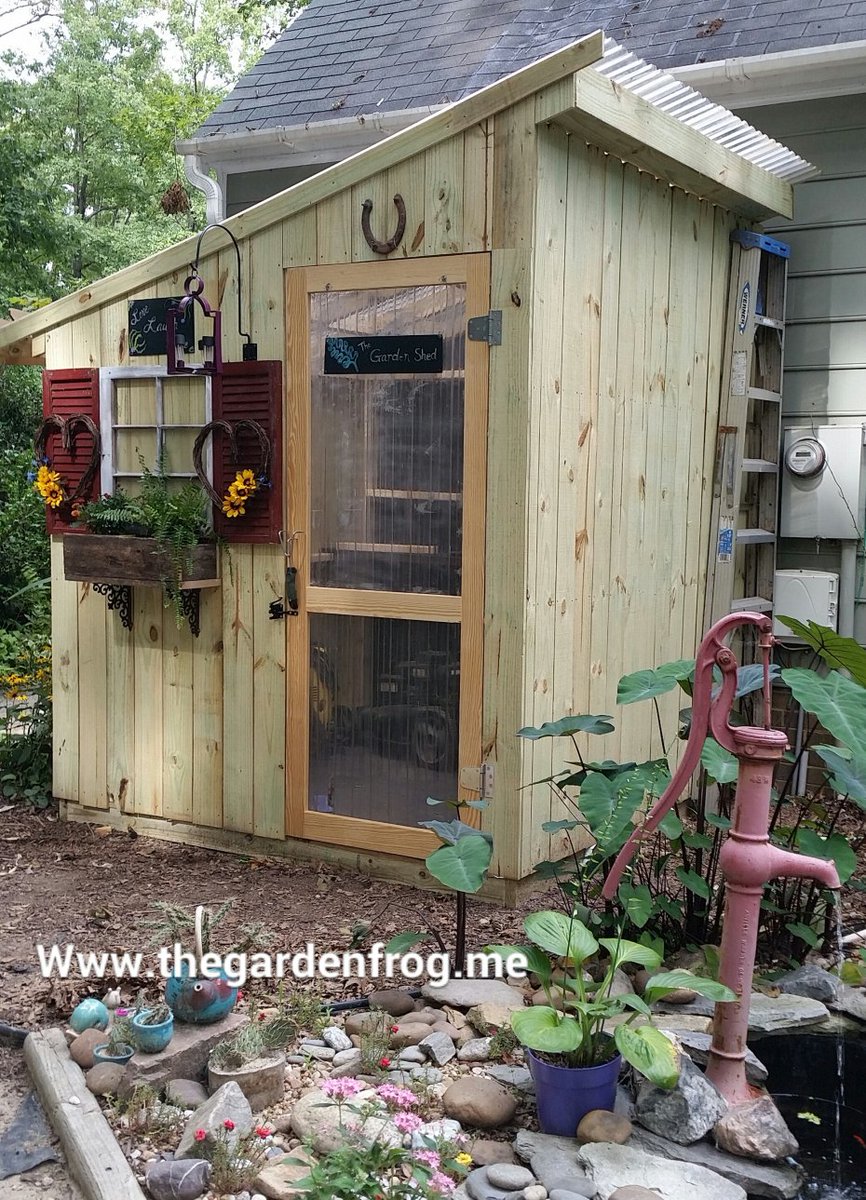
An herb drying rack makes it easy to preserve herbs, flowers hot peppers, garlic and more. This simple device is both functional and decorative. This rack does not require any preparation work, unlike traditional dryers which use electricity. Only one thing you need to do is cut and tie your herbs. An herb drying rack should be kept in a dark and cool area. Here are some tips to help you choose the right herb drying rack. Let's start!
An old lampshade frame makes an interesting herb drying rack. It is possible to use any leftover twine as a rack. If you don't have enough twine, you can just wrap the remaining twine around the knot. Use clothespins for each herb bundle and to attach it to the twine's loop. Space the herbs evenly. You can dry the herb drying rack and store it in the pantry. Don't forget its aesthetic value, it will be a great addition to your kitchen.
Keep in mind the dimensions of the herb drying rack. It's not a good idea to get a rack that is too large and takes up too much space in your cabinet. You also don't want to overdo it. You'll need the rack to be the right height and length. This will ensure that drying is done properly. You should leave a gap of 10 inches between each shelf to allow the herbs enough space to absorb air. You'll have trouble drying herbs if you use a narrow rack.
Herb drying racks are available in many styles. You can either use hanging or stackable racks. Hanging herb racks can be made with square screens similar to office paper racks. Hanging herb racks are easy to install and don't take up much space. The mesh herb drying rack is another type. This rack can dry more herbs in a shorter time.
Two-layered drying racks can be an option for smaller homes or those who have just a few herbs. The rack is made from 100 percent nylon mesh with wings. Each tier measures approximately 15 inches and allows for the removal of one plant from a multi-layered drying rack. Once dry, herbs can be stored in an airtight container for up to a year. This rack is not only convenient, but it's also attractive.
An attractive herb drying rack will be a great addition to your kitchen. Mesh herb drying shelves keep herbs fresher than traditional drying racks. They are also made with high-quality fabric that is strong and durable. A herb drying rack will help you save space in the kitchen or office. This versatile accessory is a great way to improve the look of your kitchen or herb collections. It can hold up 50 grams of herbs in its large compartments.
A mesh herb drying rack is an easy choice for small herbs. The mesh material is lightweight and allows herbs to be easily accessed. It also prevents moisture from getting in the herb drying rack. Mesh herb drying racks also come with a bag. Mesh herb drying racks are a better choice for herbs that require drying in small batches. Mesh drying racks not only have mesh material but are also breathable and keep mold and fungus away.
FAQ
What is the difference in hydroponics and aquaponics?
Hydroponic gardening is a method that uses water to nourish plants instead of soil. Aquaponics uses fish tanks to grow plants. It's almost like having a farm right at home.
How often should I water indoor plants?
Indoor plants require watering at least once a day. You can maintain humidity in the house by watering. Humidity can be vital for plants that are healthy.
What amount of sunlight does a plant require?
It depends on the type of plant. Some plants require 12 hours of direct sunshine per day. Others prefer 8 hours of indirect sunlight. The majority of vegetables require 10 hours of direct sunshine per 24 hour period.
What is the maximum time I can keep an indoor plant alive for?
Indoor plants can survive up to ten years. To encourage new growth, it is important to repot your indoor plant every few months. Repotting is simple. Remove the old soil and place fresh compost.
Statistics
- It will likely be ready if a seedling has between 3 and 4 true leaves. (gilmour.com)
- 80% of residents spent a lifetime as large-scale farmers (or working on farms) using many chemicals believed to be cancerous today. (acountrygirlslife.com)
- According to the National Gardening Association, the average family with a garden spends $70 on their crops—but they grow an estimated $600 worth of veggies! - blog.nationwide.com
- Today, 80 percent of all corn grown in North America is from GMO seed that is planted and sprayed with Roundup. - parkseed.com
External Links
How To
2023 Planting Schedule: When to Plant Vegetables
When the soil temperature is between 50degF to 70degF, it is best to plant vegetables. Plants that are left too long can become stressed and produce lower yields.
Seeds take approximately four weeks to germinate. Six hours of direct sunlight is required each day for seedlings to emerge once they have emerged. You should also give the leaves five inches of water every week.
Vegetable crops are most productive in the summer. There are exceptions. For instance, tomatoes are good all year.
Protect your plants from frost if it is cold. Use straw bales or plastic mulch to cover your plants.
You can also purchase heat mats to keep the soil warm. These mats are placed beneath the plants and covered by soil.
Keep weeds under control by using a weeding tool or hoe. The best way to eliminate weeds is by cutting at their base.
You can add compost to your hole to promote healthy root systems. Compost is a good way to retain water and provide nutrients.
Make sure the soil is not too dry. Once a week, water deeply.
Soak the roots thoroughly in water. After that, let excess water drain back into ground.
Don't overwater. Overwatering can lead to disease and fungus.
Fertilize early in the season. Fertilizing early in the season can lead to poor fruit production and stunting. Wait until the plants start to produce flowers.
When you harvest your crop, remove any damaged parts. You can risk rotting if you harvest too quickly.
Harvest the fruits only when they are fully mature. Remove the stems and store the fruits in a cool place.
The harvested vegetables should be kept in the refrigerator immediately.
In conclusion, it's very easy to grow your own foods. It's rewarding and fun. You'll enjoy delicious, healthy foods.
It is easy to grow your own food. You simply need patience, knowledge and planning.